
![]()
The primary consideration when framing an image is the artwork itself. Make certain the mat and frame complement the art, not the room!
-
The Mat(s)
The mat is a design element that can be used to highlight a color, draw your eye into the picture or increase the size of the framed piece.-
Single or Top Mat
Generally, it is best to select a pale, neutral color that is harmonious with the predominate background color found in the picture. This helps to eliminate the impression of "closing in" on the image.
- Bottom mat
The bottom mat, if you select one, can be used to highlight accent colors in the artwork and adds a distinctive custom look to your framed piece.
-
-
The Frame
The frame provides structural and decorative support for the art. It should be complementary and not distract from theimage.-
Color
Generally, a frame that is harmonious with the most predominate background color is most pleasing. If the background colors are very strong, a muted version of that color will work well for the frame.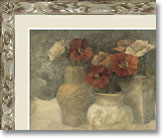
- Size
The width of the frame needs to be proportionate to the size of the image. A large piece will generally require a wider, heavier frame. Conversely, a small piece looks best with a narrower frame. - Detail
When possible, select a frame that has the shape and similar surface details found in the art. A picture with round shapes and curves will be complemented by a frame that is rounded. Architectural elements in the picture are enhanced by similar details on the frame.
-
![]()
There is no one correct way to arrange art, but the following guidelines will give you a starting point - remember, the most pleasing arrangement may be the one that is least expected!
-
Creating Art Arrangements
-
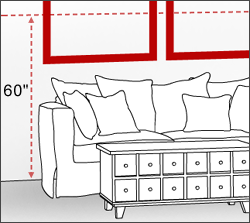
In general, the center of the picture or the group of pictures should be at eye level, approximately 60 inches from the floor.
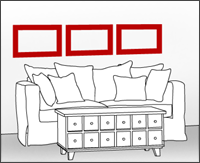
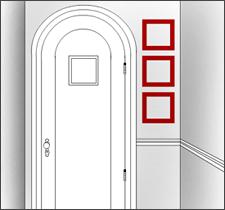
- For large empty walls, a grouping of several pieces can be much more interesting than a single large piece.
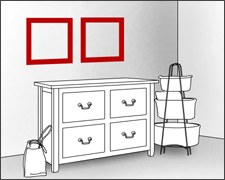
Groupings work best when there is a common link that ties all of the artwork together. The link can be a similar style of frame, the same color mat or imagery of similar style or subject. -
An odd number of pieces will usually provide a more visually balanced grouping.
-
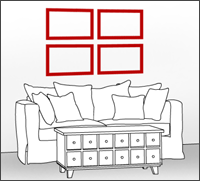 Even numbers work well when grouped closely together, creating a cohesive statement.
 -
Small pieces arranged vertically or larger vertical pictures are appropriate for narrow walls.
-
 Large horizontal pictures or groupings are ideal for large expansive walls.
 - Wall art can be arranged symmetrically or asymmetrically.
-
With symmetrical arrangements, each side of the arrangement "mirrors" the other side creating a very pleasing, balanced effect.
-
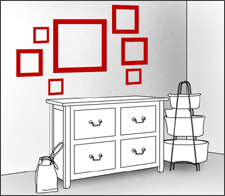 Creating an asymmetrical arrangement allows you to combine artwork of dissimilar size and orientation for a more eclectic presentation. The key is to make sure that it is visually balanced.
 - A grouping of pictures should be thought of as one unit. It is helpful to place the artwork on a large piece of paper on the floor. Arrange a pleasing layout taking into consideration the size, format, color and the image itself. By tracing around the images, you will have a template to tape to the wall for an exact view of the placement of each piece.
-
- Combining Art Arrangements with Furniture
-
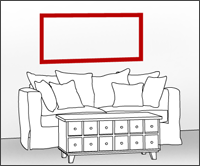
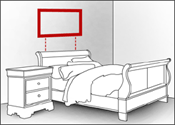
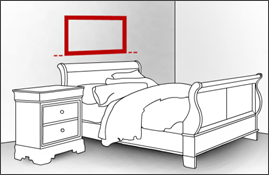
When hanging art above furniture, do not place the picture too high or it will appear to "float" off of the wall. The space between the art and the furniture should be approximately 4"- 6".
Correct:

Incorrect:
-
 Lowering the artwork from the recommended midpoint at 60" to eye level when seated is appropriate for kitchens, offices or anytime a "cozier" more intimate setting is desired.
 -
Relate the size of the art to the size of the furniture by not extending the piece or the group of pieces beyond 75% of the width of the furniture.
![]()
-
Measure the distance from the floor to "eye level" (60").

- Measure the height of your framed art and divide in half.
- Measure the distance from the top of the wire (at full tension) to the top of the frame.
- Subtract C from B.
- Add the result of D to A. This is the height at which the hanger should be put into the wall.